Everybody knows that fishing is about the particular catch, but before the capture happens you have to find the seafood - so how do you accomplish that? Use your en. best fish finder 2015 obviously.
There is a wealth of information going swimming to help you find the general region where there are fish: angling magazines such as this one, angling clubs, mates (the types you can trust that is), books giving you GPS areas to paddle to, and naturally a huge wealth of information on the web. The issue is that all of these is only going to tell you the general area the fish should be hanging out within, and they will not put a person right on the fish that one day you are there.
So what seeking to assist you to turn a general “there are fish here” directly into fish on the table to give food to your family and friends? Well it’s technologies to the rescue - the fishfinder! Not modern technology by any kind of stretch of the imagination. OKAY may be some of the recent advancements could be called modern, however the simple sonar technology used in contemporary fishfinders was first used by the army towards the finish of World War I actually, with what we call the fishfinder arriving on the market within the late 1960s.
Fishfinders can give you with an knowing of what is within the water, what is under your kayak, the depth, the surfaces and structure, and of course the particular fish.
Nearly any fishfinder which has been developed to use on a leisure boat is suitable for use on the kayak. These units are usually small, sealed fishfinders that can come in various sizes with a large range of features. You can start off using a small basic fishfinder using a black-and-white, low-resolution screen which will show you the depth, the underside structure, and hopefully several fish. Or you could move the whole method and get the high-end fishfinder that will give you much, much more; an easier-to-read high-resolution colour screen, the underside structure, the water column in a range of different methods, the standard 2D, down-imaging, and even what’s out to the particular sides with the latest aspect imaging technology. Some devices are classed as mixture units and these contain or even link up to a GPS to offer you charting features, that are great for being able to chart your own drift so you can paddle as well as re-drift along that exact same line you just picked up individuals fish on, or utilize the marine chart to find the fish-holding drop offs and functions. Of course , as with everything, the greater you spend the more functions you will definitely get on your unit.
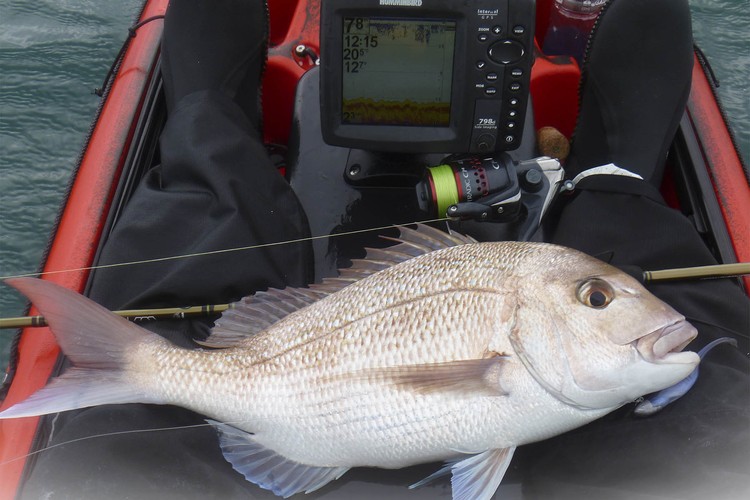
Wherever you position your own fishfinder will be affected just by several factors, the biggest getting the type of kayak you exercise. The most recent fishing kayaks just about all sport centre tackle storage space so you can mount your fishfinder on the storage covers; old kayaks will most likely have some toned area or areas so that you can choose from. Another factor to consider is whether the installed device is close enough to achieve, should you wish to make any adjustments to the settings on your device whilst you are fishing. Install it too far away and it also may become a matter of having to shuffle forward each time. This is likely to quickly become a chore and it is potentially unsafe. Also make certain it’s easy to see, don’t be lured to tuck it aside somewhere thinking it will be safeguarded, then find you have to motorised hoist your throat to see this every time. Then believe about the way the unit might interfere with your own personal functioning space; is it most likely to get in the way of rigging your gear, your trap, or even the way you land and deal with your own fish? And if you choose to install your fishfinder on the side of the kayak, be sure it will not prevent your paddle heart stroke.
Anytime affixing the fishfinder or even mount to your kayak, do not scrimp on the hardware. Use metal steel for all fastenings, possibly grade 316 or 304, otherwise you’ll end up with rustic screws and stains in your kayak after just a couple of journeys.
Waterproof
The most important thing when selecting electronics for use on your kayak is that they are waterproof; you need to check that they have the waterproof rating of IP67 or above. IP represents “Ingress Protection”, the two amounts relate to the level of protection towards solids and liquids. The particular 6 means “totally safeguarded against dust” and the seven equals “protected against drinking water ingress when submerged to some depth of 1 metre regarding 30 minutes”. So if your own electronics are rated in order to IP67 you should be safe yet note it is only a submersion rating; it doesn’t suggest you can blast it using a high pressure hose when you are cleansing down at the end of the day. And getting folded in the surf may apply more than 1metre of stress, so it always pays to place your electronics safely aside before heading in with the surf.
With no ability to simply plug your own electronics into the nearest strength socket, you need to carry your own personal power source with you: the battery, specifically an SLA (Sealed Lead Acid) battery pack. This type of battery operates on a single chemical reaction principles as your vehicle battery but with the protection of the acid being covered inside the battery’s plastic situation. This makes it ideal for use within your kayak as there is absolutely no chance of the acid getting spilt while the kayak stones and rolls on the ocean.
 RSS Feed